
Product Try-On for shopping
Upload your photo and a real product image to preview fit, drape, and color before checkout — useful for ecommerce and marketplace sellers.
Virtual try-on · AI clothes changer
See the outfit before you buy or post.
Upload a person photo plus a garment image for product try-on, or choose a ready-made style. Use Custom only when you need a specific outfit; face, pose, and background stay the same.
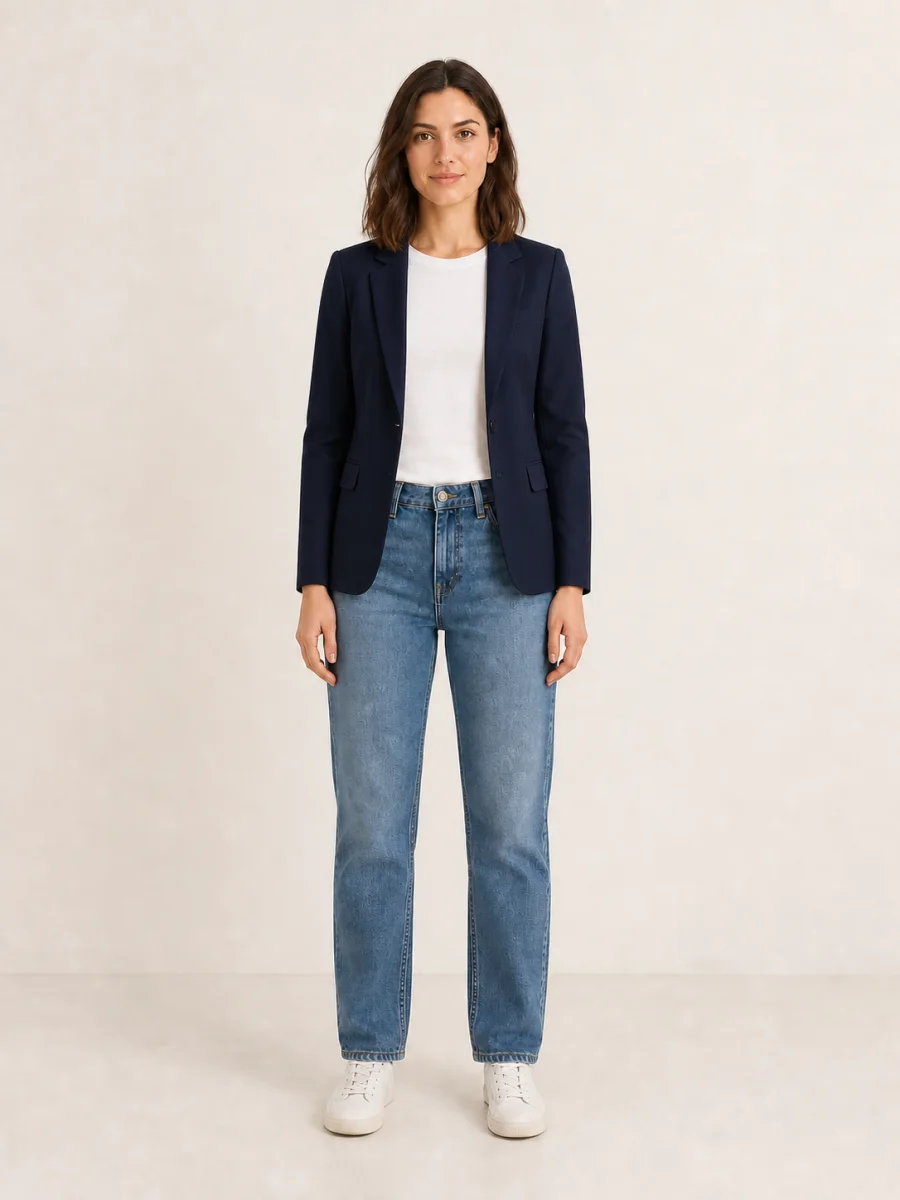
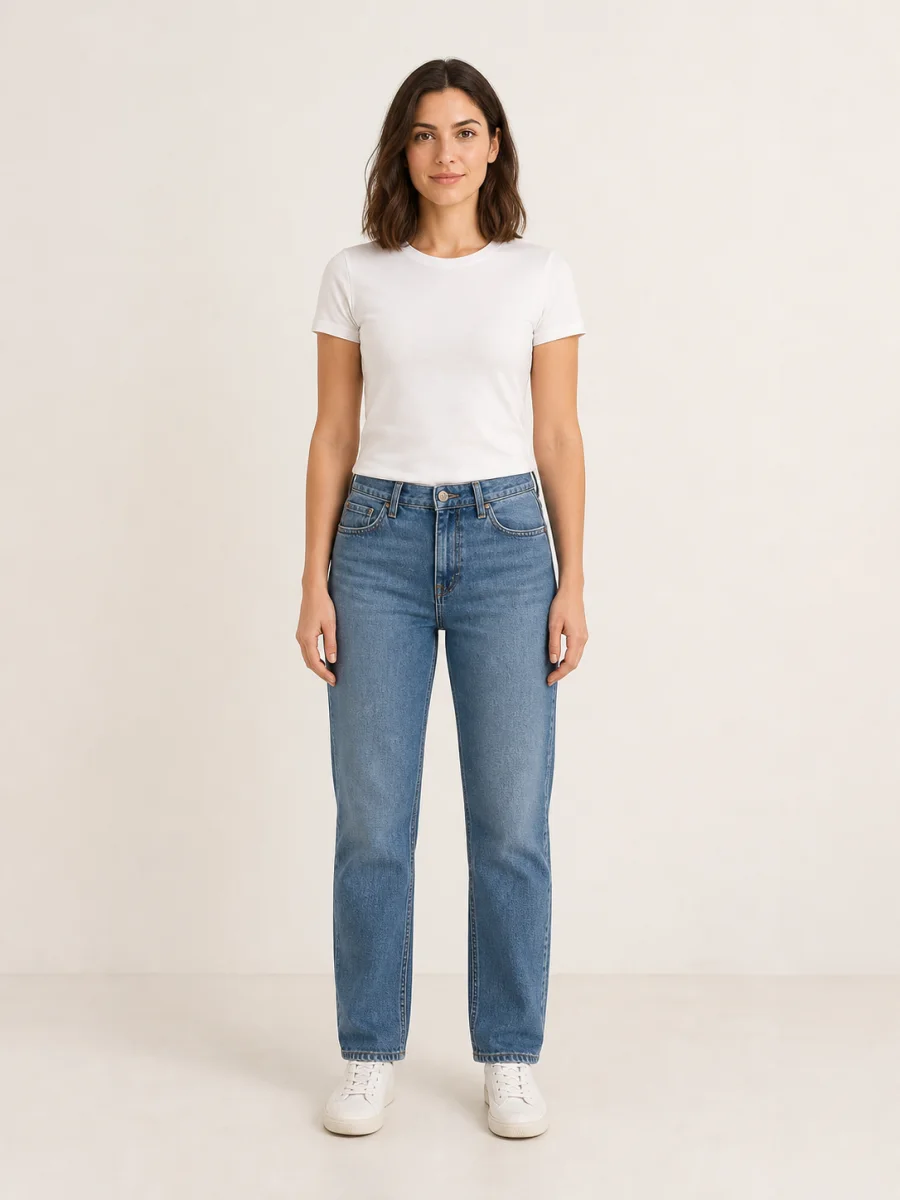
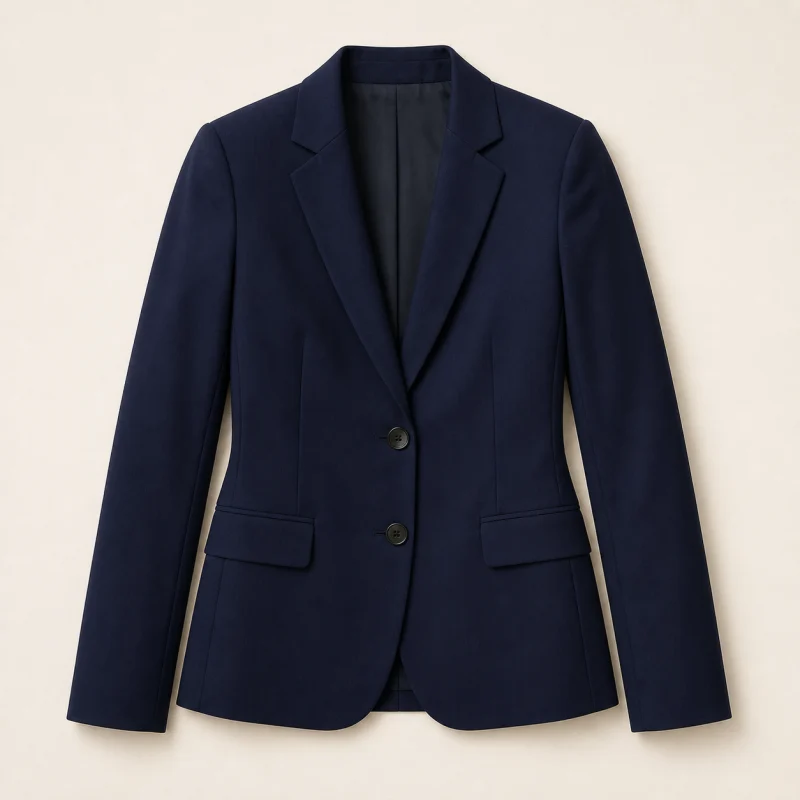 Garment
The garment reference appears in the upper-left of the Before layer. Drag fully toward After and the garment thumbnail and arrow disappear with it.
Online generator
Pick Product Try-On for person + garment images. In Style Changer, choose a preset first; the prompt appears only when you select Custom.
Upload · swap outfit · download
Person photo
Full-body or upper-body
Garment / product image
Flat lay or model shot
Resolution
Result
Waiting for uploadsYour try-on result will appear here
Upload a person photo, then choose a preset. Product Try-On also needs a garment image.
Person photo + garment or preset
AI fits the new outfit
Save the try-on image
Two modes, one engine
Virtual Try-On targets shopping decisions. AI Clothes Changer targets quick style experiments — both run on the same identity-preserving image edit.
Upload your photo and a real product image to preview fit, drape, and color before checkout — useful for ecommerce and marketplace sellers.
Start with Smart Casual, Business, Streetwear, Evening, or Seasonal. Choose Custom only when you need to describe an exact outfit.
Prompts lock identity, body shape, hair, skin tone, background, lighting, and camera angle. Only the clothing changes.
The edit asks for natural folds, wrinkles, shadows, and draping so the new clothes look worn, not pasted on.
Choose the right workflow
The two workflows both replace clothing, but they solve different jobs. Start with the source you have and the decision you need to make.
Use Virtual Try-On when you already have a product image and want to see that specific jacket, dress, shirt, or uniform on a person. Upload a clear portrait as the first image and a clean garment photo as the second. The model uses the garment image as a visual condition, then adapts its shape, color, material, and details to the photographed body. This workflow is most useful before an online purchase, when comparing two products, or when a seller needs a consistent model preview for several items. A Virtual Try-On result is a visual estimate rather than a sizing guarantee, but it gives shoppers more context than a flat product image alone. It can reveal whether a color works with the person, whether the overall silhouette feels right, and whether an item suits the intended occasion before checkout.
Use AI Clothes Changer when the goal is exploration rather than an exact product match. Start with a preset when the category matters more than every garment detail: Smart Casual gives a polished everyday look, Business creates a restrained professional outfit, Streetwear builds a relaxed layered look, Evening favors a refined silhouette, and Seasonal creates a coordinated cold-weather outfit. This makes AI Clothes Changer useful for social posts, profile photos, creative concepts, wardrobe planning, themed looks, and quick mood-board experiments. Choose Custom only when a specific garment, color, material, or preserved item matters. A focused request such as "black leather jacket over a white T-shirt; keep the trousers and shoes" is easier to follow than a long styling brief.
Both modes send visual instructions to the same image-edit workflow. The person photo anchors identity, pose, body proportions, hair, background, camera angle, and lighting. A garment photo gives the model a concrete reference; a preset or Custom request supplies a styling direction. The edit then redraws the clothing region with suitable folds, occlusion, shadows, and fabric texture. This is why the page keeps Virtual Try-On and AI Clothes Changer together instead of splitting them into duplicate tools. You can move from a product-specific shopping preview to a style experiment without uploading the person again, learning a second interface, or managing a separate generation history.
Before and after
Use these examples to compare how Virtual Try-On follows a product image and how AI Clothes Changer follows a style preset. Both use the same identity-preserving edit pipeline as the workspace above.
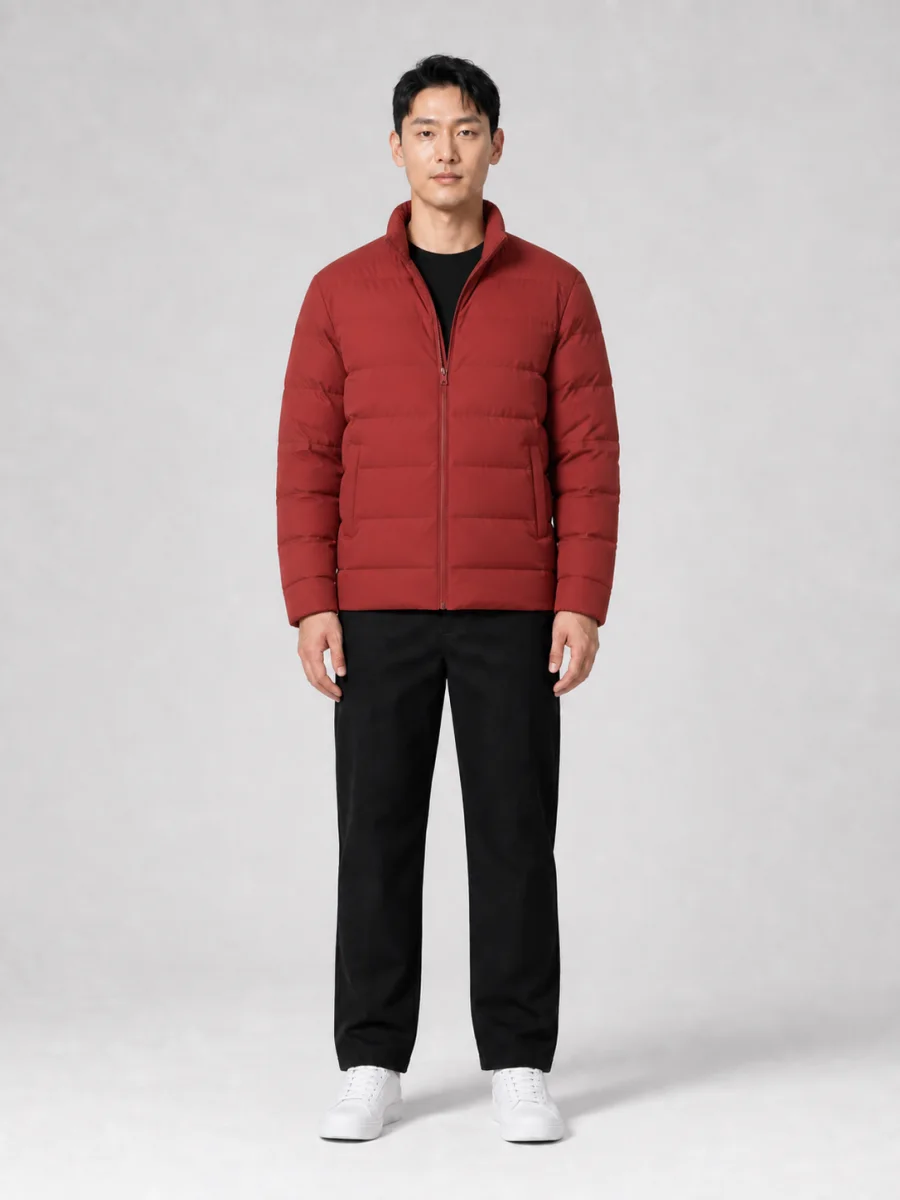
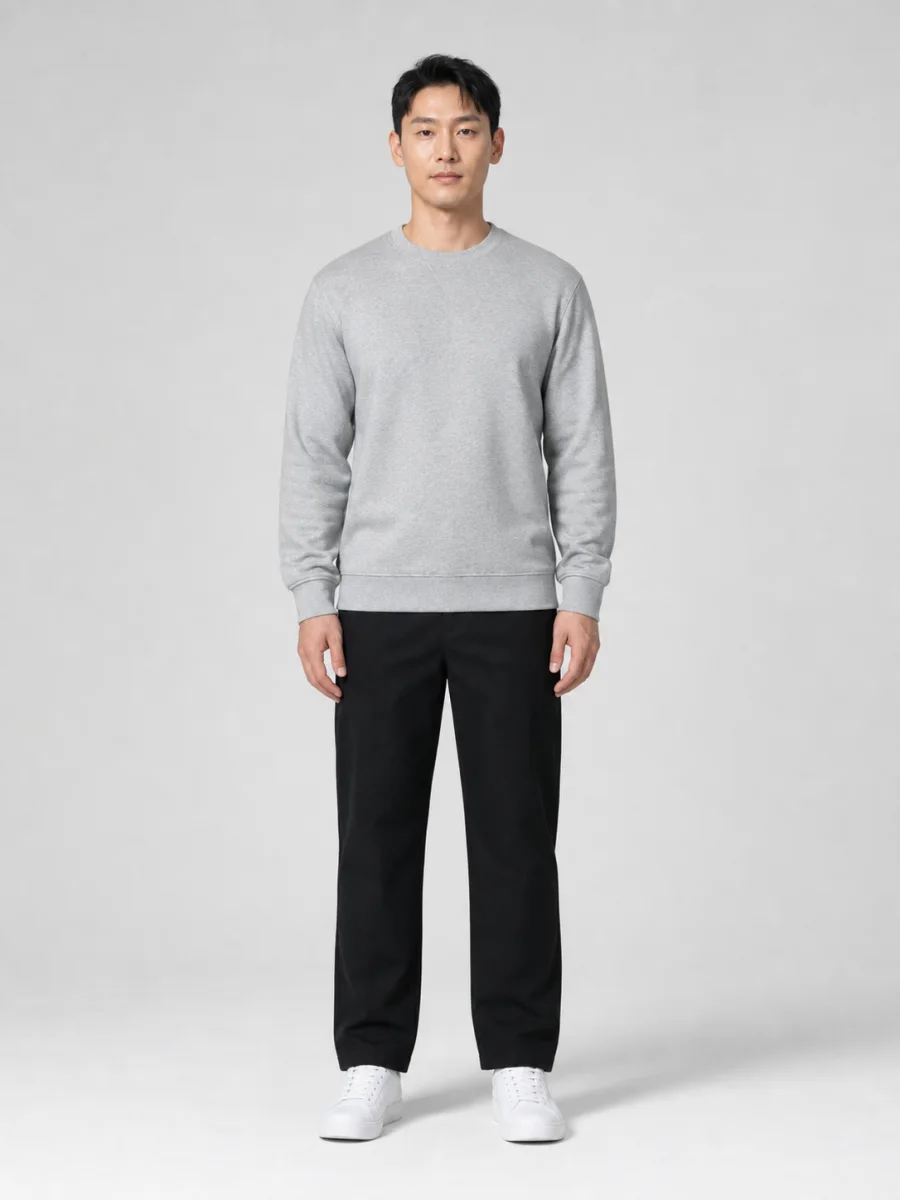
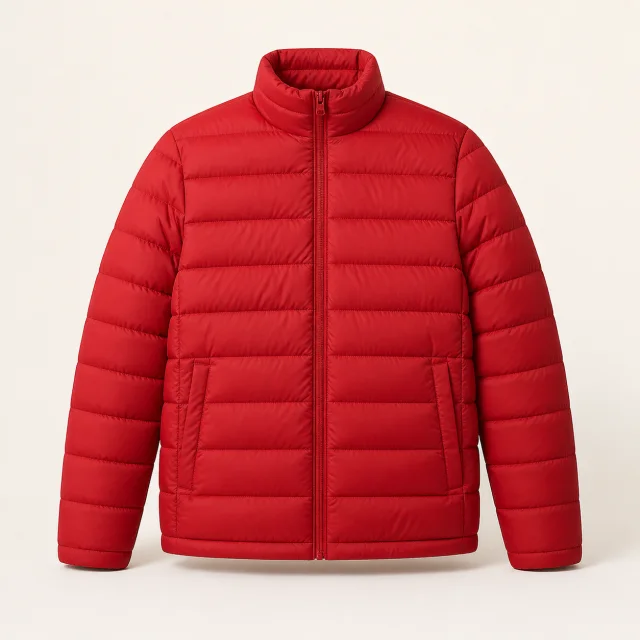 Garment
Gray sweatshirt replaced with a red puffer jacket for a pre-purchase style check.
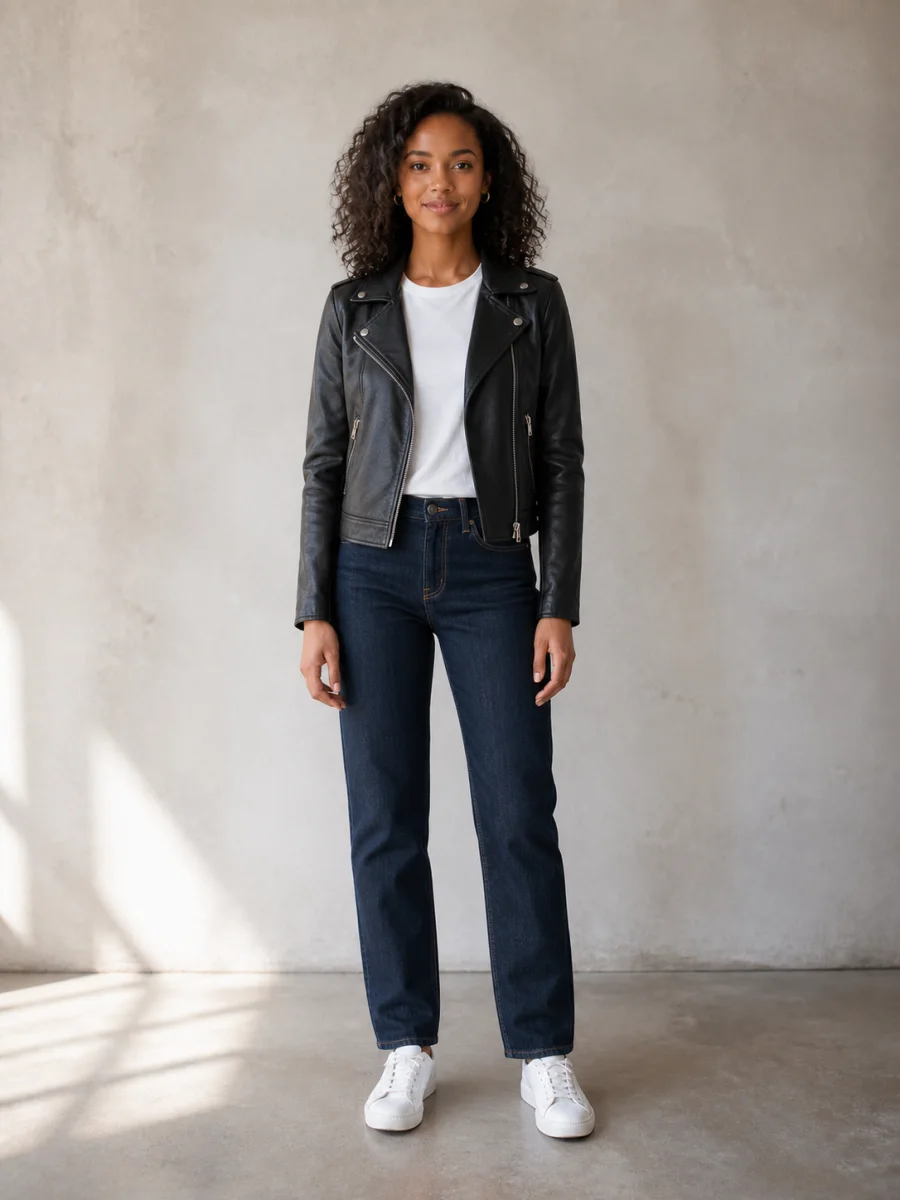
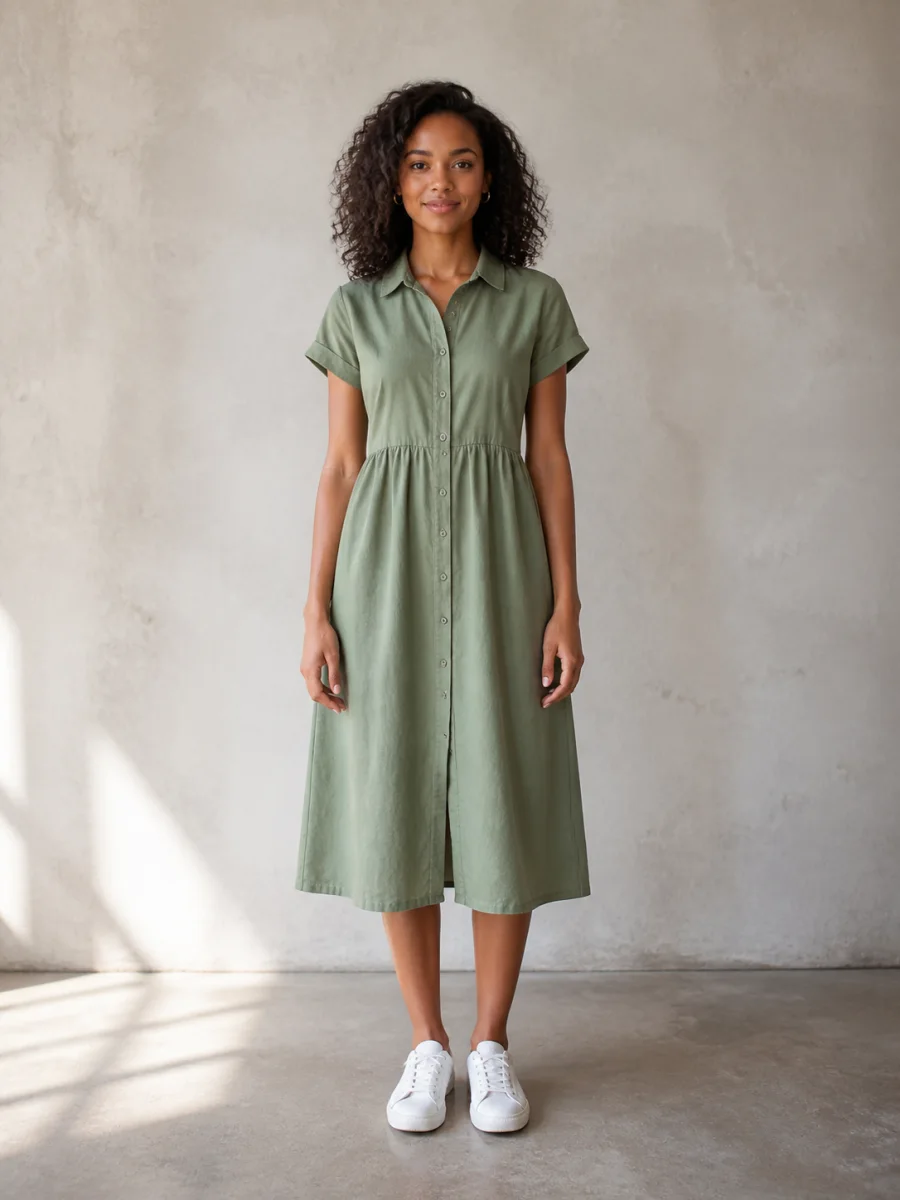
 Garment
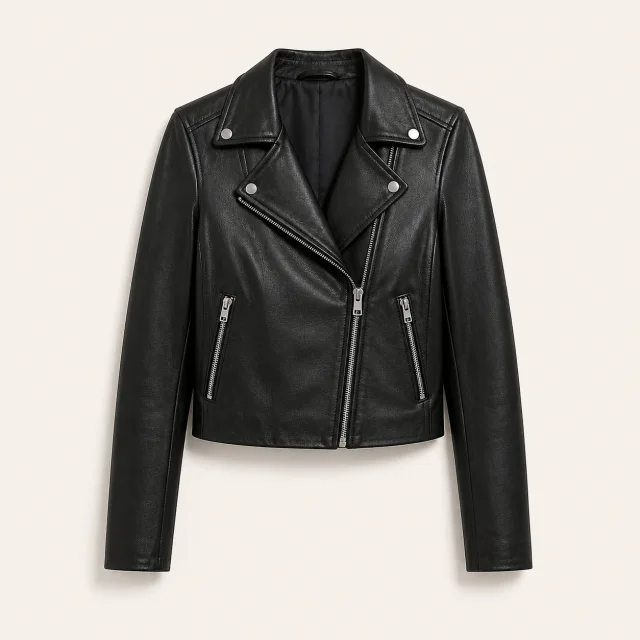
Sage shirt dress swapped for a leather jacket and jeans in AI Clothes Changer mode.
 Garment
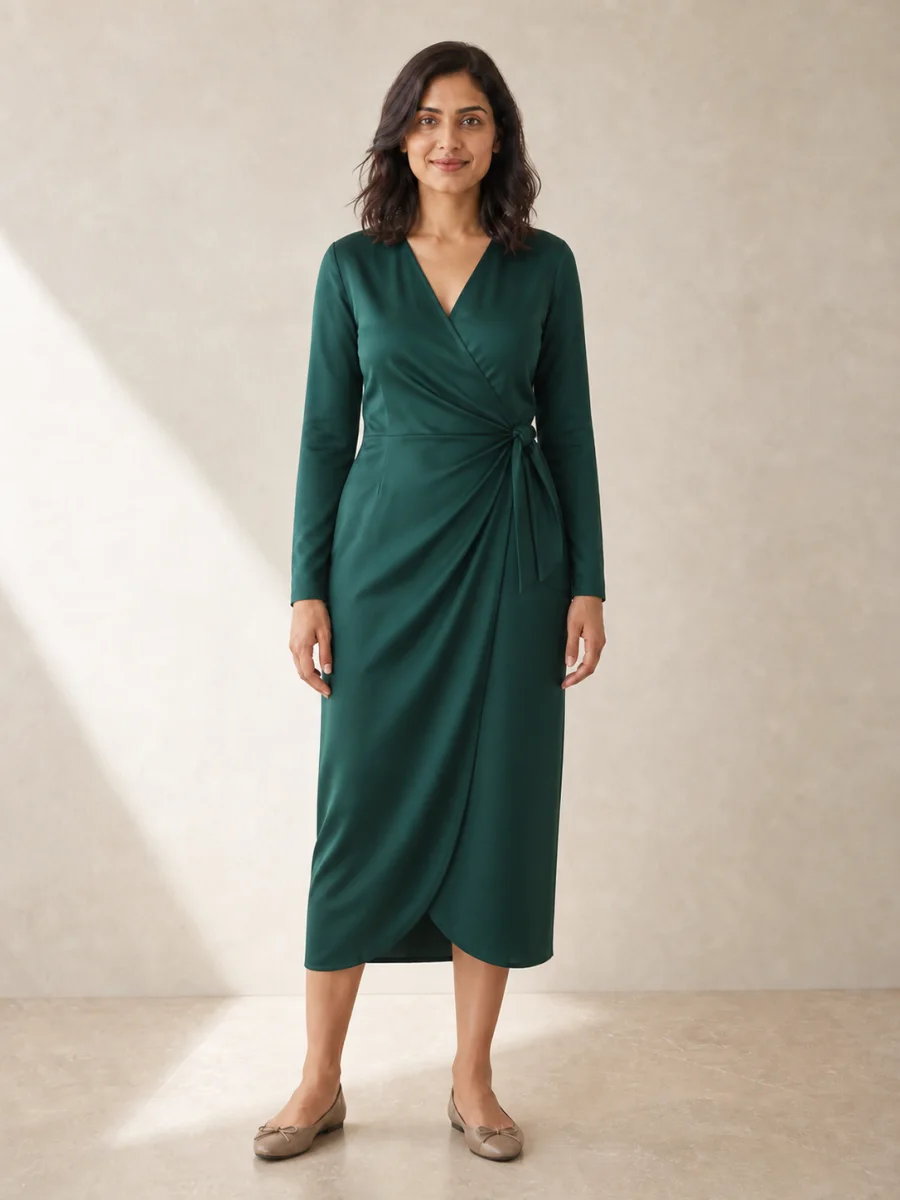
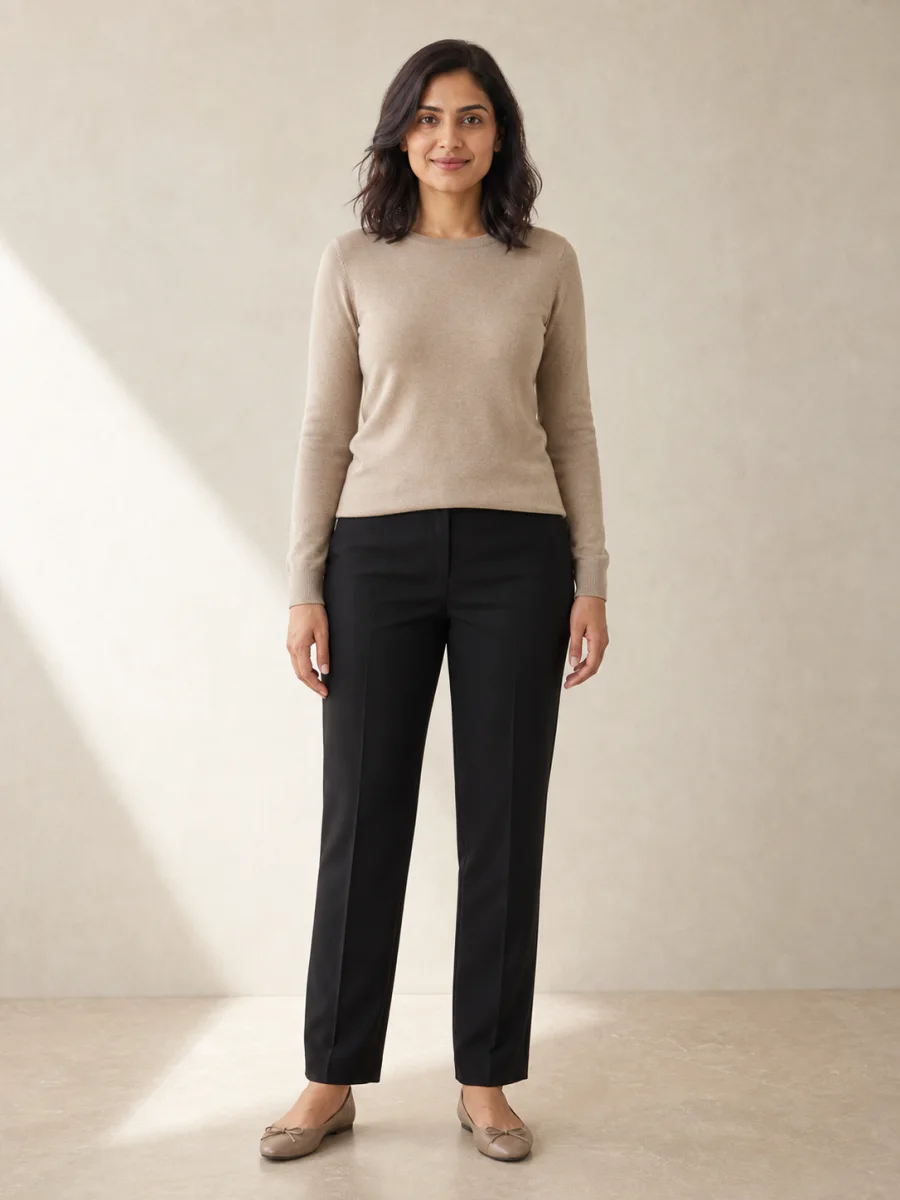
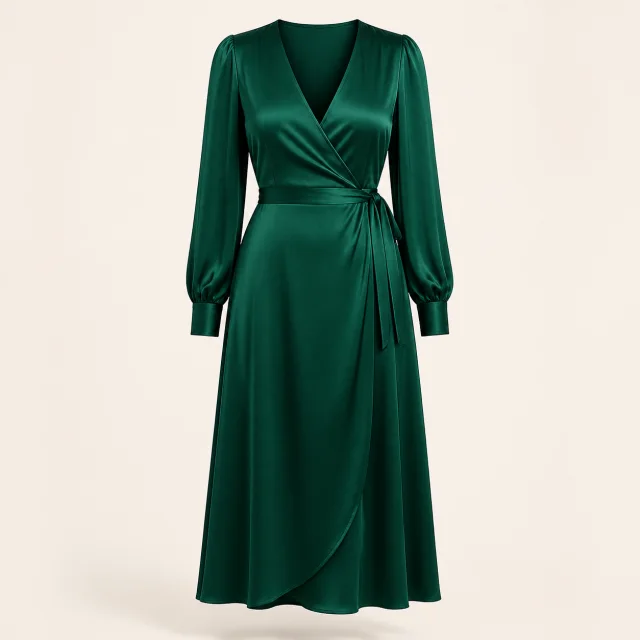
This Virtual Try-On example starts with a simple top and trousers, then tests an emerald wrap dress. The unchanged face, stance, hands, floor shadow, and camera angle make it easier to judge whether the model changed only the clothing.
 Garment
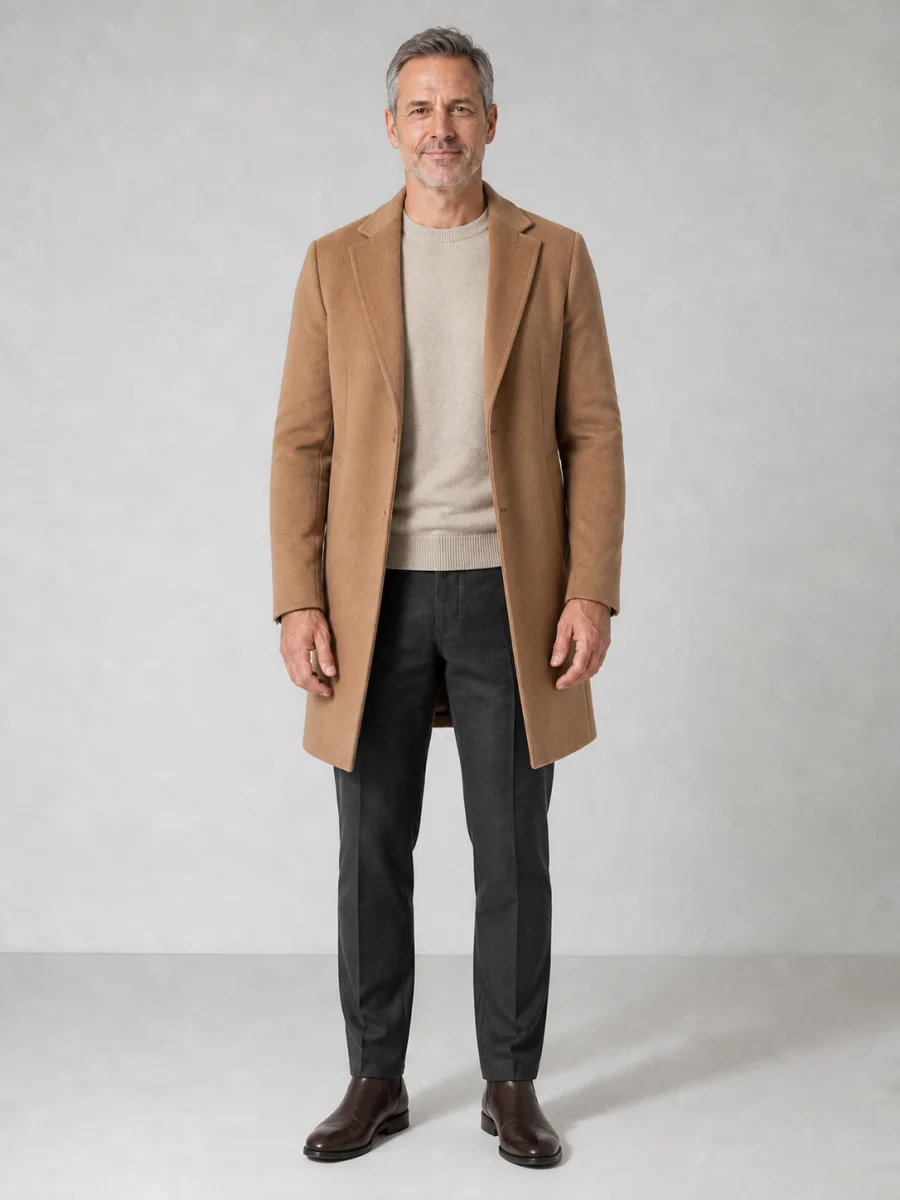
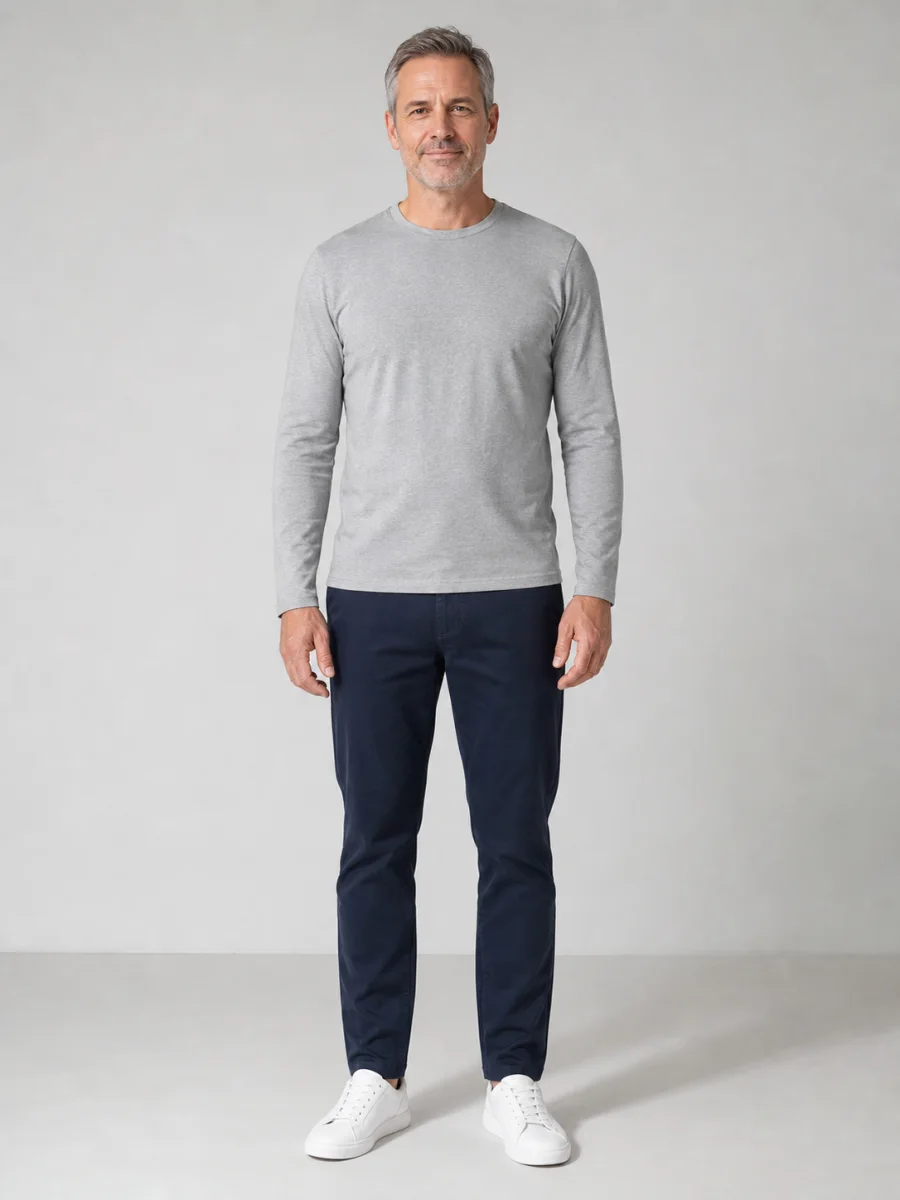
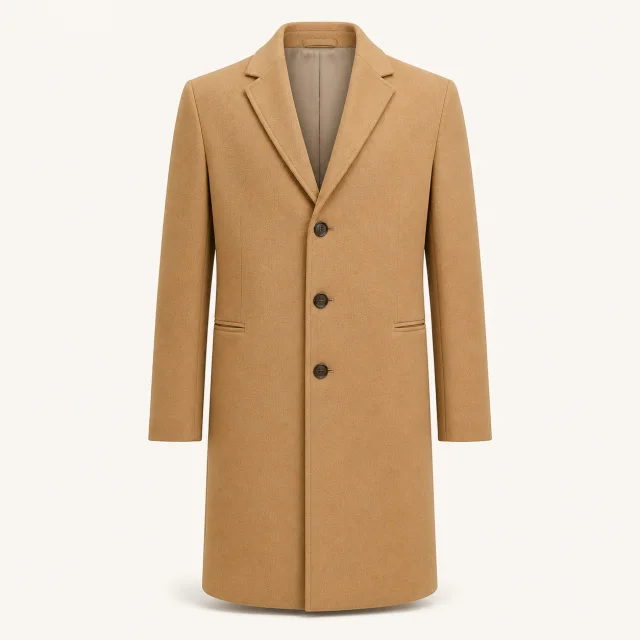
The Seasonal preset gives AI Clothes Changer a complete cold-weather direction without asking the user to write a prompt. The camel coat, knit layer, trousers, and boots are generated together while the person and studio remain fixed.
How it works
Both Virtual Try-On and AI Clothes Changer use the same image-edit pipeline — only the inputs and intent differ.
Use a clear full-body or upper-body portrait. Front-facing poses with visible torso give the most reliable garment fit.
Product Try-On needs a garment image. Style Changer starts with a preset and opens a text field only for Custom requests.
Compare before and after, then save the result for shopping decisions or social content.
Photo and prompt guide
Good inputs matter more than a long prompt. Prepare the person photo, garment reference, and styling instruction with the following checks before you generate.
For the most reliable Virtual Try-On, use a sharp photo with one adult person, even lighting, and enough resolution to see the face and garment area. A front-facing or gentle three-quarter pose usually gives the model a clear view of both shoulders, the torso, arms, waist, and legs. Keep hands away from complicated clothing edges when possible. Heavy motion blur, crossed arms, large bags, hair covering the entire shirt, or another person overlapping the body can make an accurate replacement harder. Full-body photos are best for complete outfits, while upper-body portraits work well for shirts and jackets. You do not need a studio camera; a recent phone photo taken in soft daylight is often enough if the subject is in focus and fully visible.
A flat lay or centered ecommerce product shot is the strongest input for product mode. Show the whole garment against a plain background, with sleeves, neckline, hem, buttons, prints, and fabric texture visible. Avoid collages, screenshots with large labels, folded items, extreme perspective, or photos where a model's body hides most of the clothing. Virtual Try-On can work from a model photo, but a clean product image gives the edit fewer unrelated details to interpret. If exact color or pattern matters, choose the highest-quality source you have. Compression artifacts and poor white balance may carry into the result. One garment per image is ideal because it makes the intended product obvious to the model.
In AI Clothes Changer mode, a preset is usually the fastest and most reliable starting point because it already contains a coherent outfit direction. Use Smart Casual, Business, Streetwear, Evening, or Seasonal when those categories match the result you want. Choose Custom when a visible detail matters, then name the garment type, color, material, fit, and anything that must remain. For example: "relaxed charcoal wool blazer over a white crew-neck T-shirt; keep the jeans and shoes unchanged." This is more actionable than "make me look fashionable." Conflicting requests, long accessory lists, and vague mood words increase the chance that unrelated parts of the photo change.
Zoom in before downloading. Check the face and hair first, then inspect hands, collar edges, sleeve length, buttons, waistline, repeated patterns, and the boundary between clothing and background. The best AI Clothes Changer result keeps the original person recognizable while making fabric respond naturally to the body and light. If one detail is wrong, regenerate with a simpler source image or a narrower instruction. A visual try-on can help compare color, style, and overall silhouette, but it cannot measure physical garment dimensions, fabric stretch, comfort, or exact fit. Always use the retailer's measurements and return policy for the final buying decision.
This tool creates a photorealistic visual simulation. It is designed to preserve identity and show a plausible outfit on the photographed body, which makes it useful for inspiration, product comparison, and content creation. It is not a body scanner, tailoring service, or medical measurement system. Results can vary with pose, image quality, body coverage, garment complexity, reflective materials, transparent fabric, and unusual prints. Virtual Try-On should be treated as an informed visual preview. AI Clothes Changer should be treated as a creative image edit. For sensitive or commercial use, review the output carefully, keep the original files, and only upload images you own or have permission to edit.
Who it is for
The same tool supports a pre-purchase fit check and a quick outfit remix for content.
Preview how a jacket, dress, or uniform might look on you before ordering — especially when returns are costly.
Show a garment on a consistent model photo without a full photoshoot for every SKU.
Swap styles for thumbnails, mood boards, or "what if I wore this?" posts without changing your face.
Start with included trial credits, then choose the credit pack that matches how many outfit previews you want to create. One account covers both modes.
Same Basic plan, billed yearly at the lowest Basic rate.
Includes
Best balance of yearly volume and price per restore.
Includes
Maximum yearly volume at the lowest price per restore.
Includes
FAQ
How the two modes differ, what photos work best, and what the AI can realistically change.